

Create a VPC
At first we need to log on to our AWS account and create a VPC in the Region where you want to deploy your SDDC, that VPC will be then our “Connected VPC”.

On the left side select [Your VPCs].

First choose your region, here we have chosen Frankfurt, and then [Create VPC].
During the creation of the VPC we can define a Name for our VPC and we must define a network range for it.

Give your new VPC a descriptive name and a network, in this case we used 10.190.96.0/20 and continue by clicking on [Create VPC].
In the next step we will need to configure subnet for our VPC.

Back in our newly created VPC we need now to create Subnets in each Availability Zone. In the left menu click on [Subnets]

In the Subnets page we are going to [Create Subnet] in the right upper corner which opens the Subnet creations page.

In the SUBNET creation dialog fill out the neccesary information per Availibility Zone.
1. select your newly created “VPC-4-SDDC”
2. give your subnet a descriptive name
3. choose a Availability Zone
4. enter a network range
5. continue by clicking on [Create Subnet]
Repeat these 5 steps for each Availability Zone in your Region
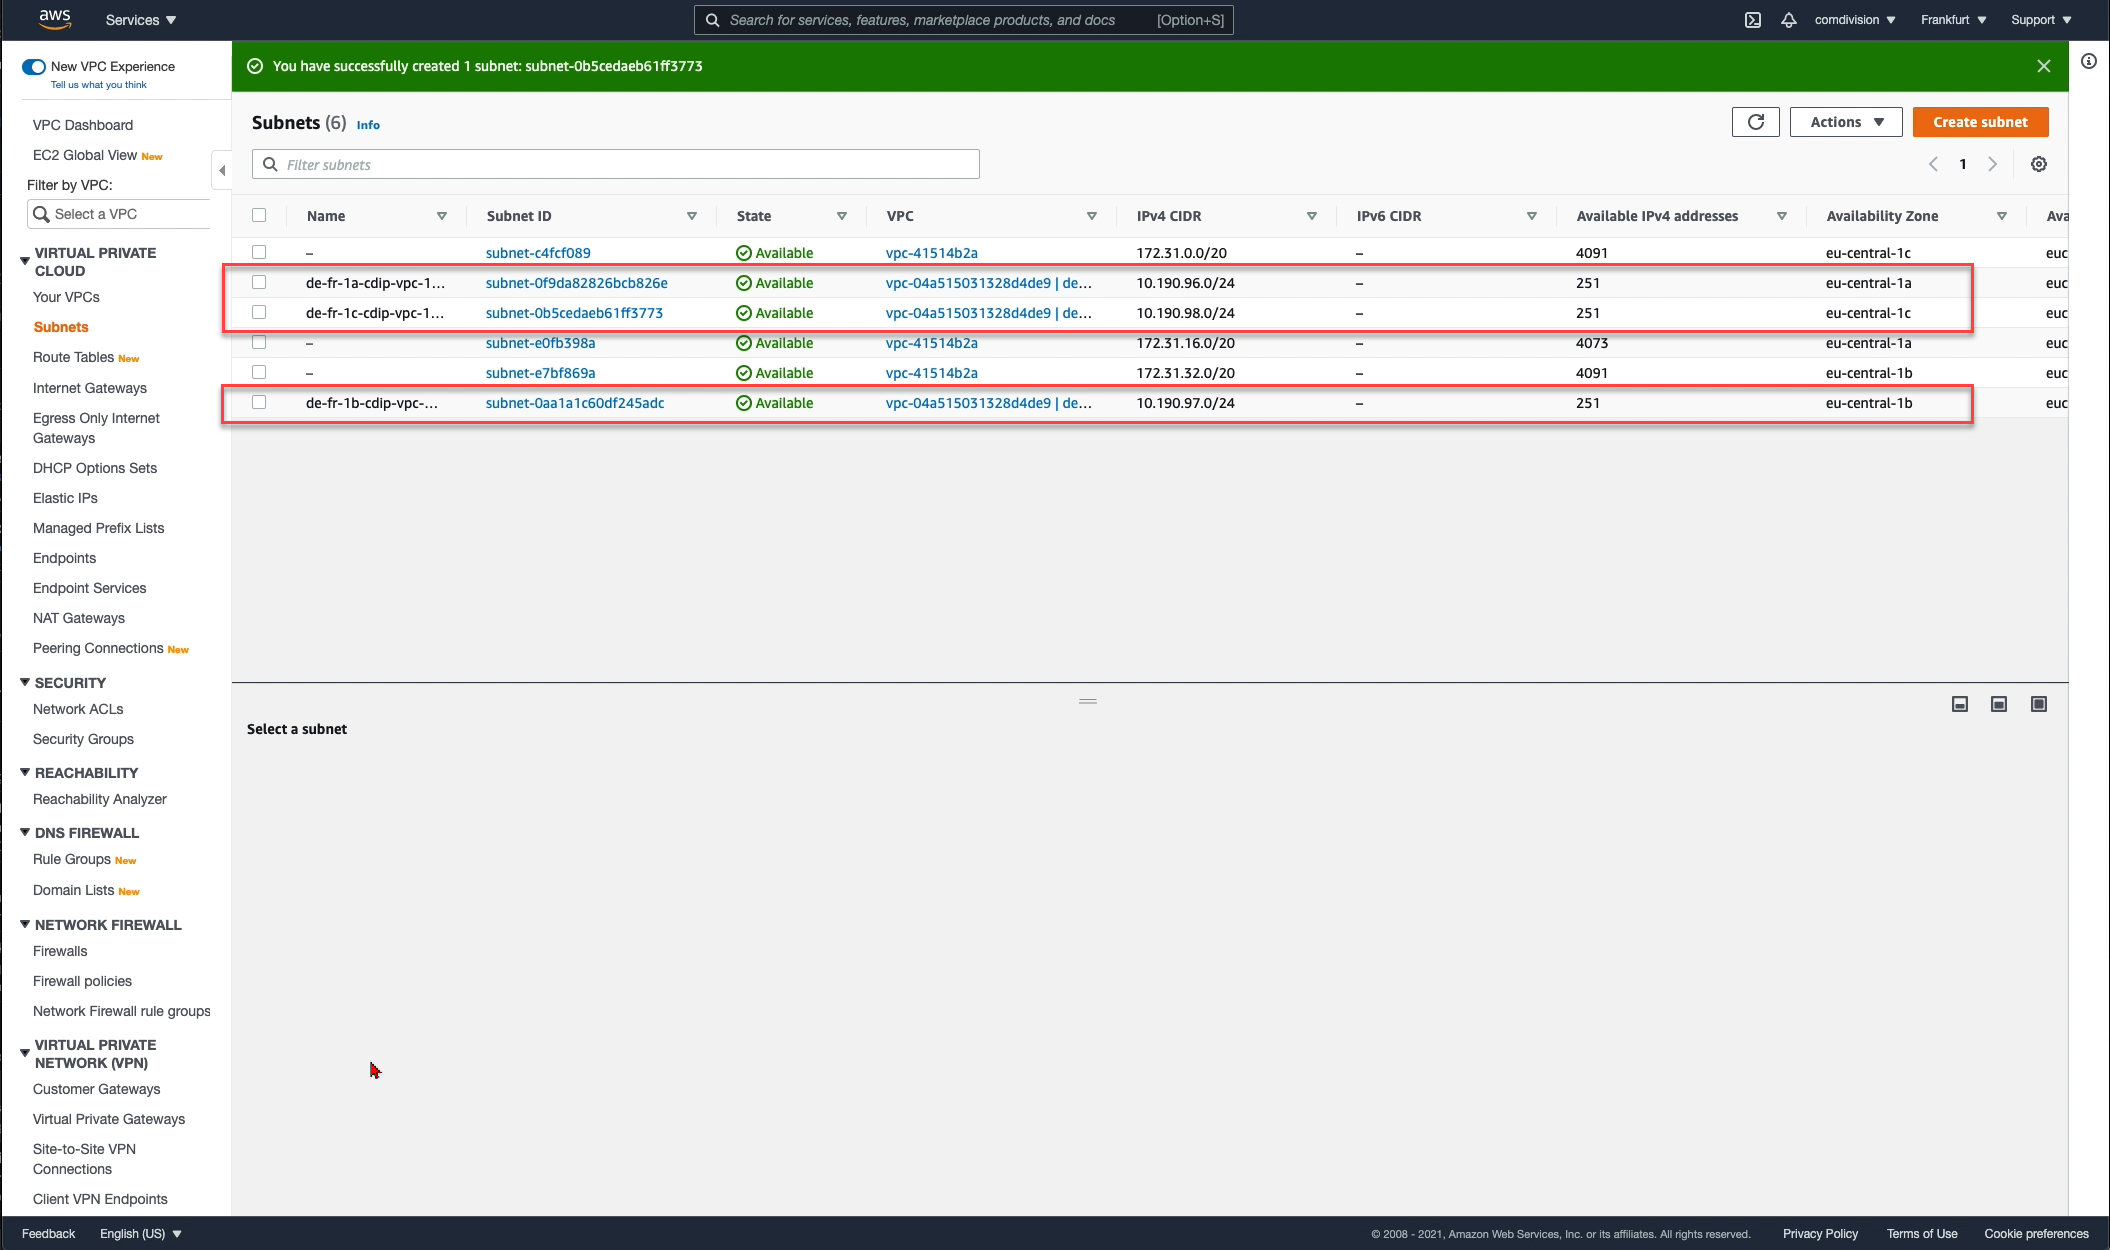
Great, now we have the minimal prerequisites fulfilled on the AWS side.
Create a SDDC
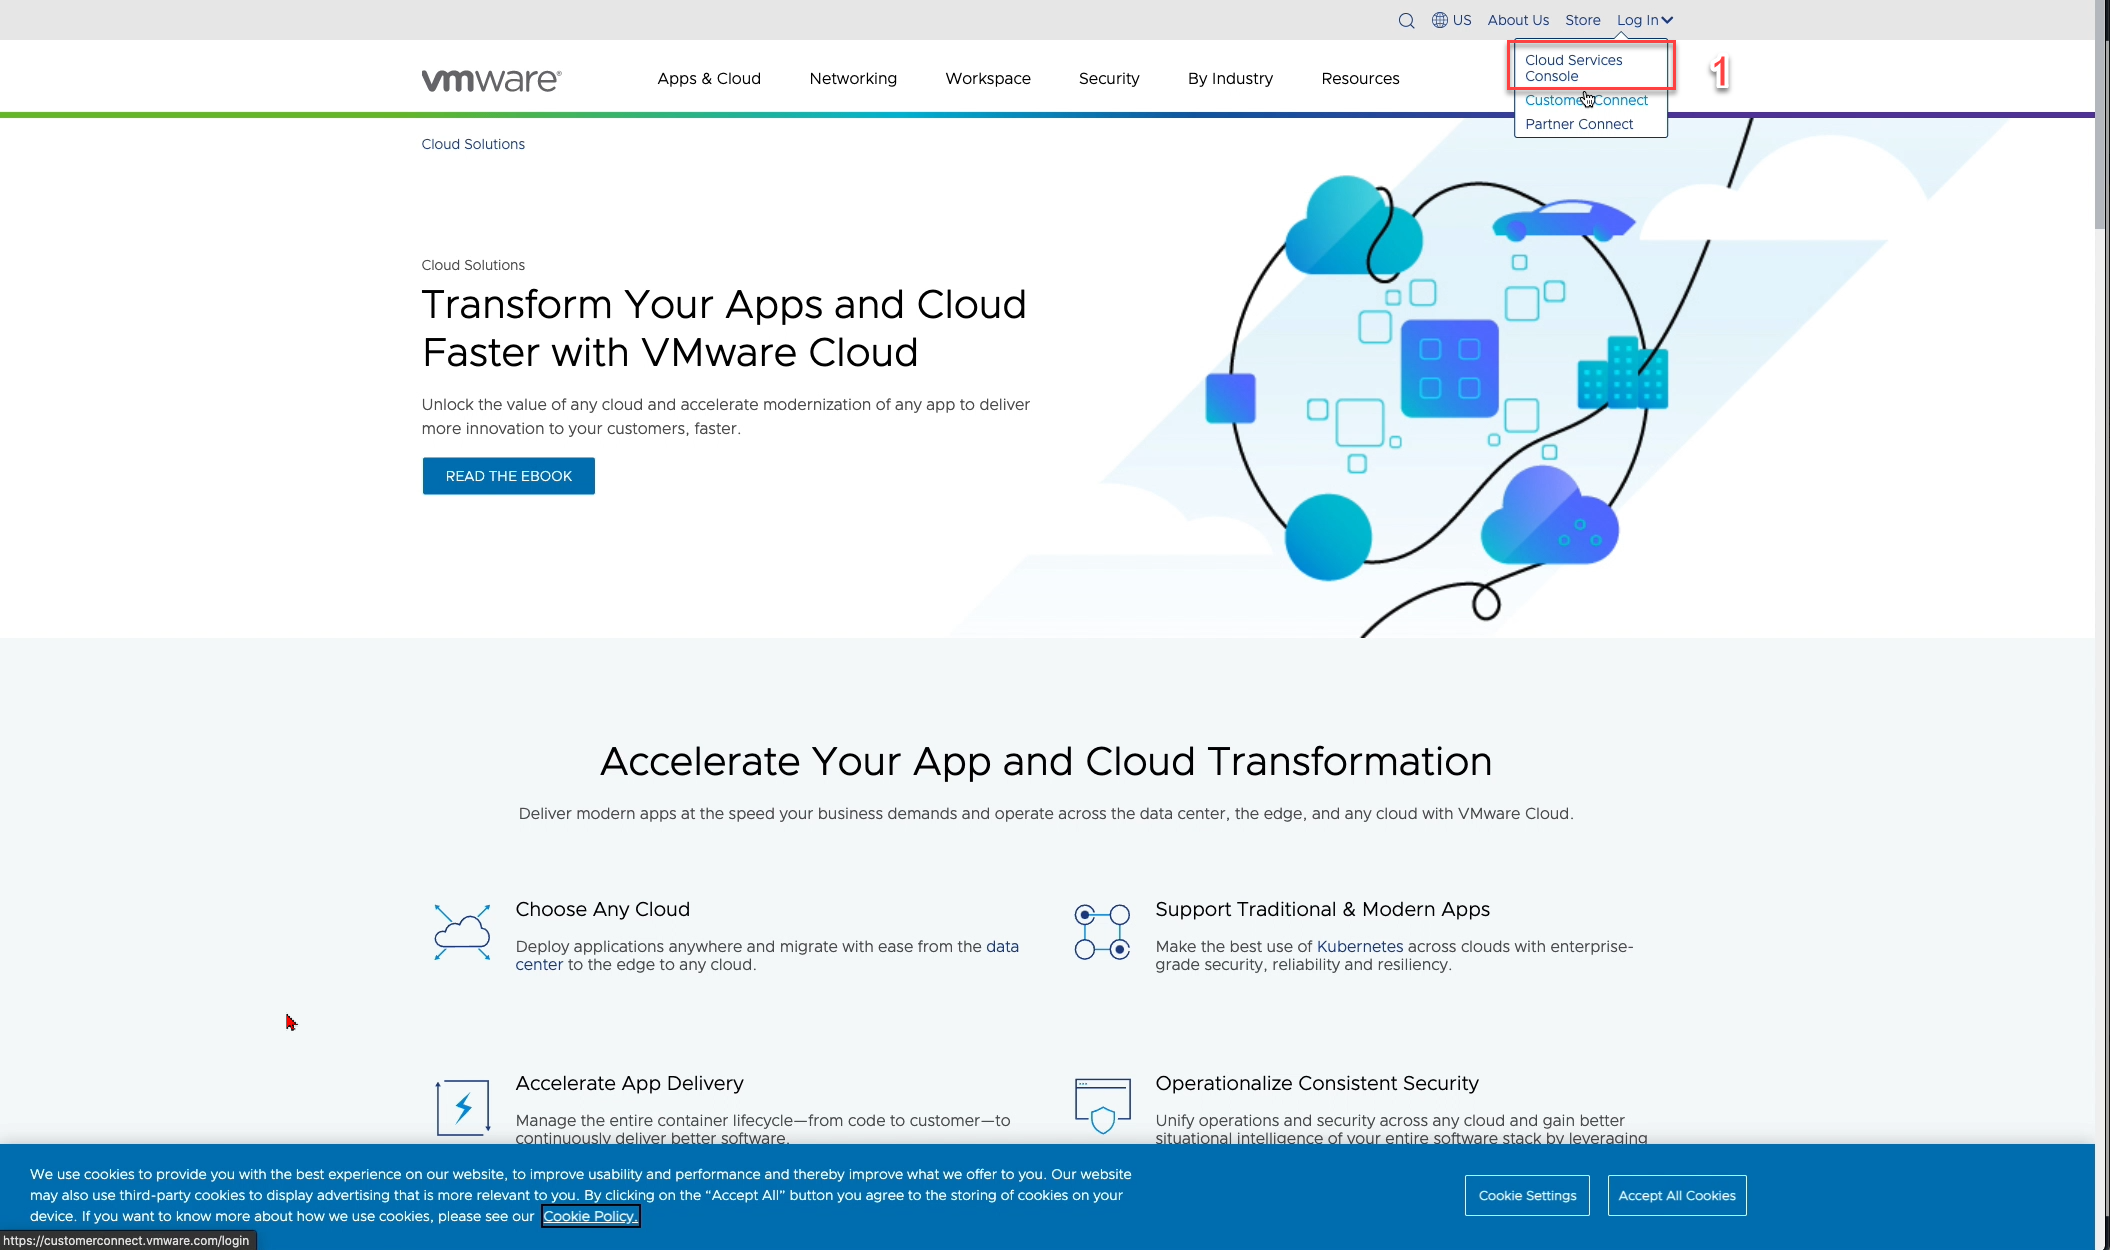
Open in your favorite browser https://cloud.vmware.com and in the top right under “Log In” goto [Cloud Service Console].

The cloud services are loading..
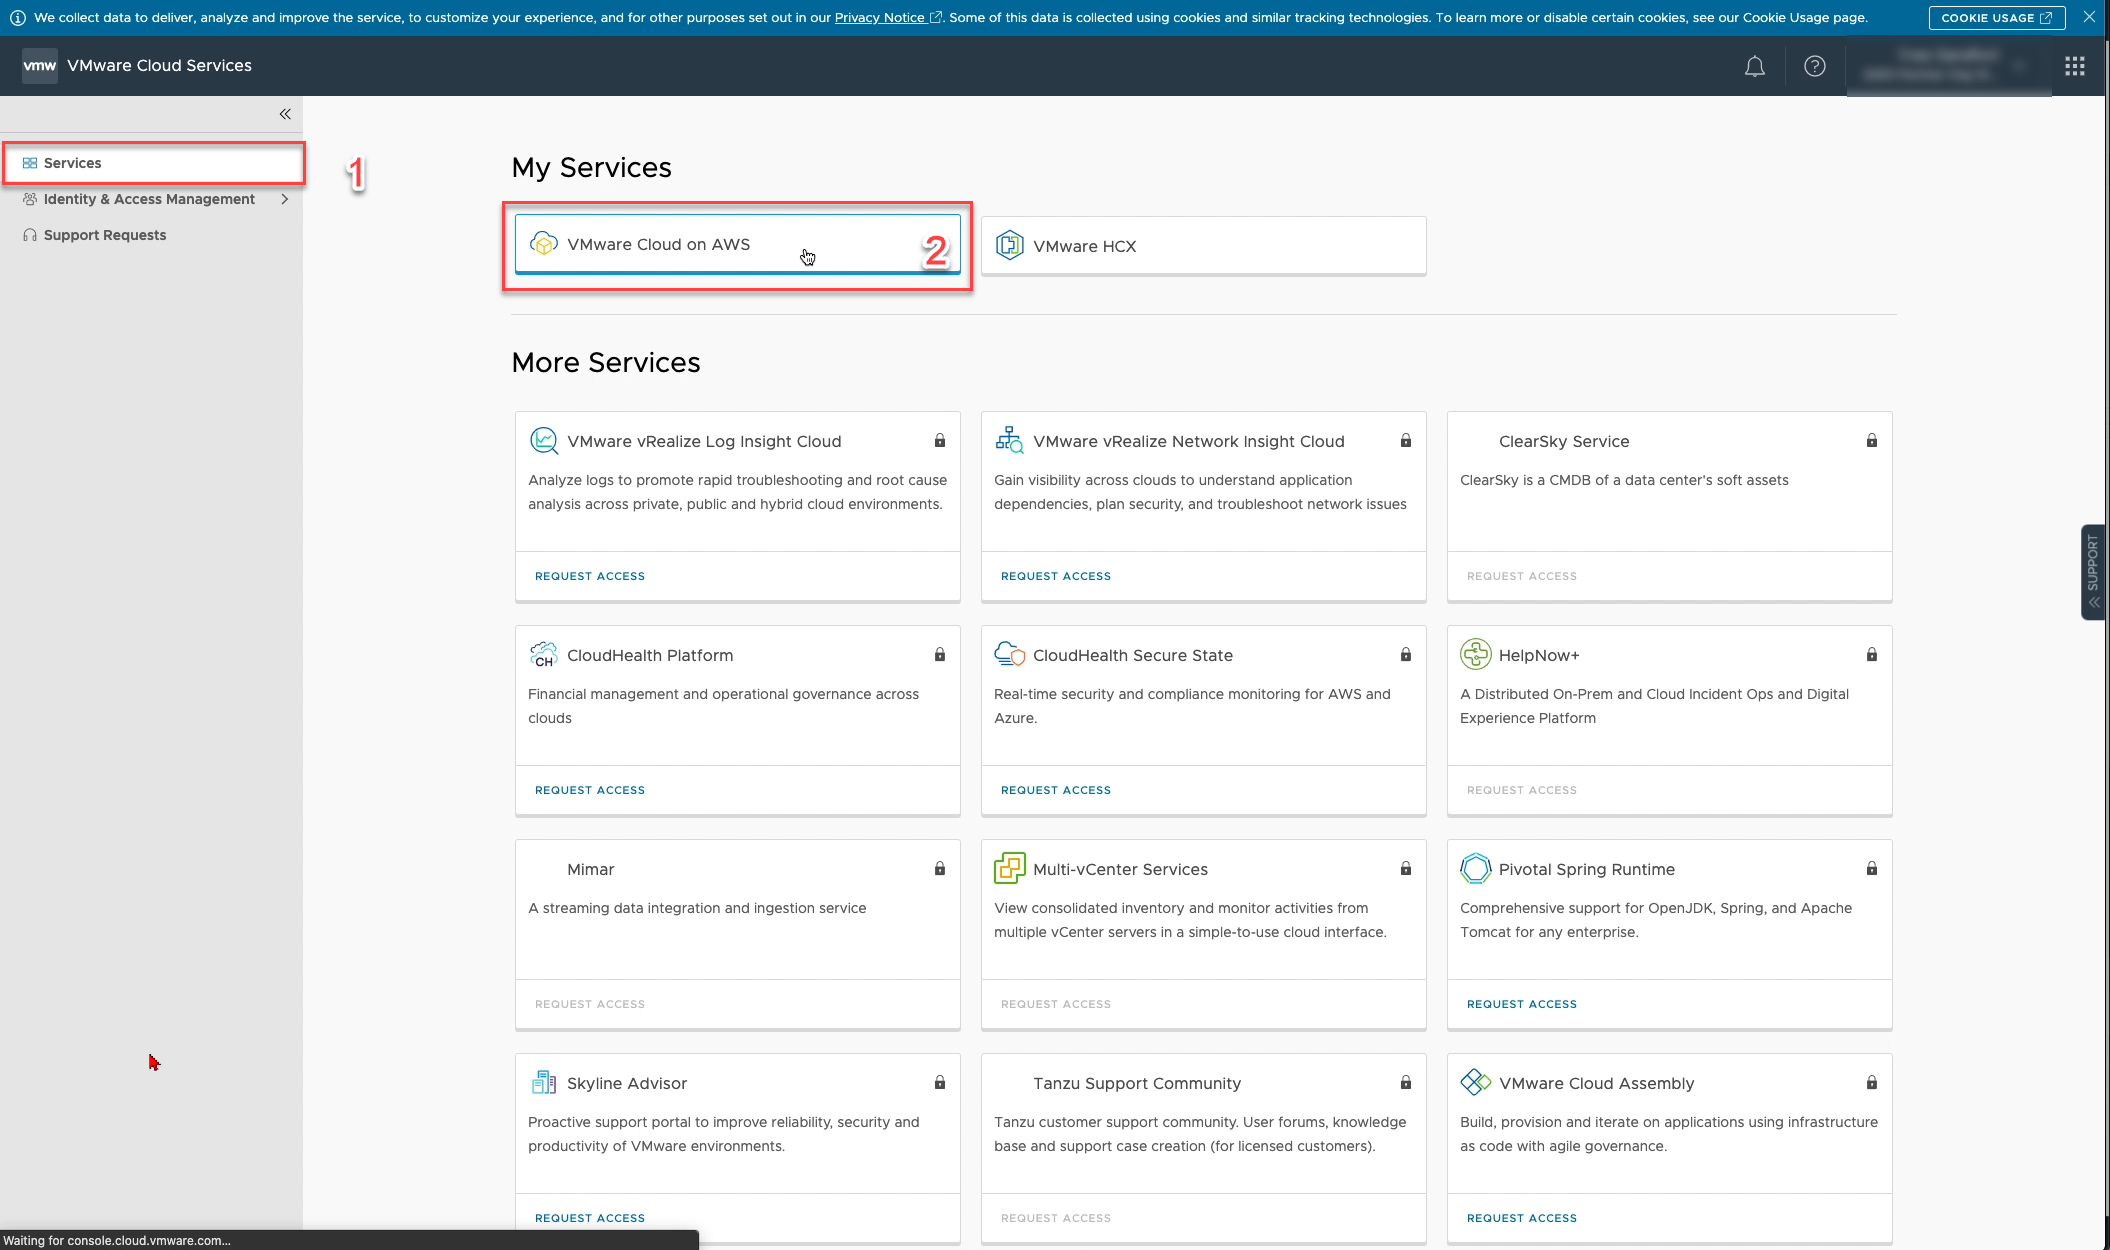
Once the page is up, select under [Services] on the left side, the service [VMware Cloud on AWS] in the main page.
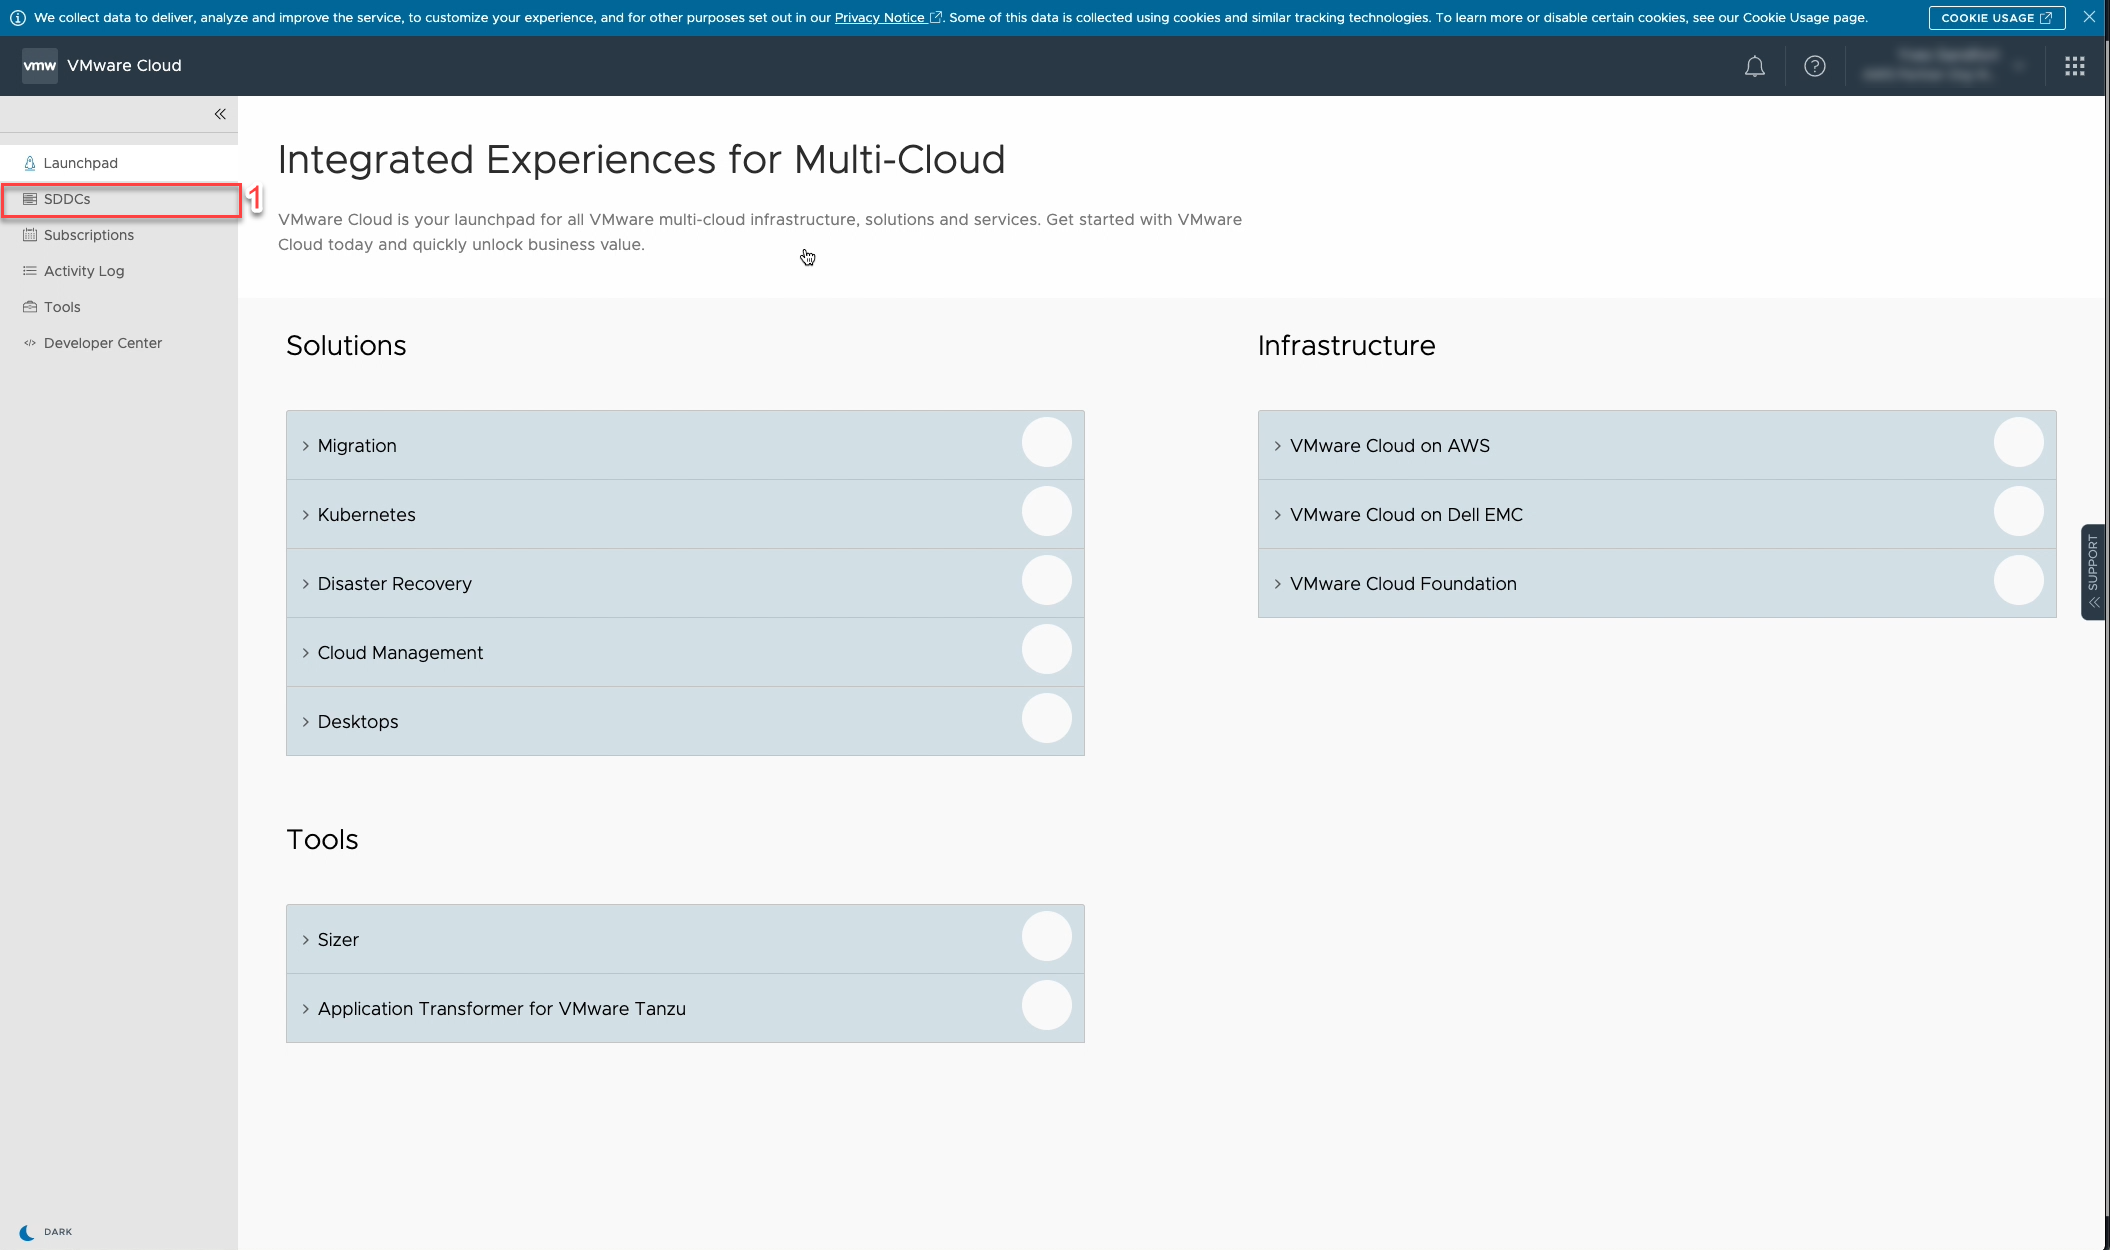
On the Launchpad click [SDDCs] on the main menu on the left.
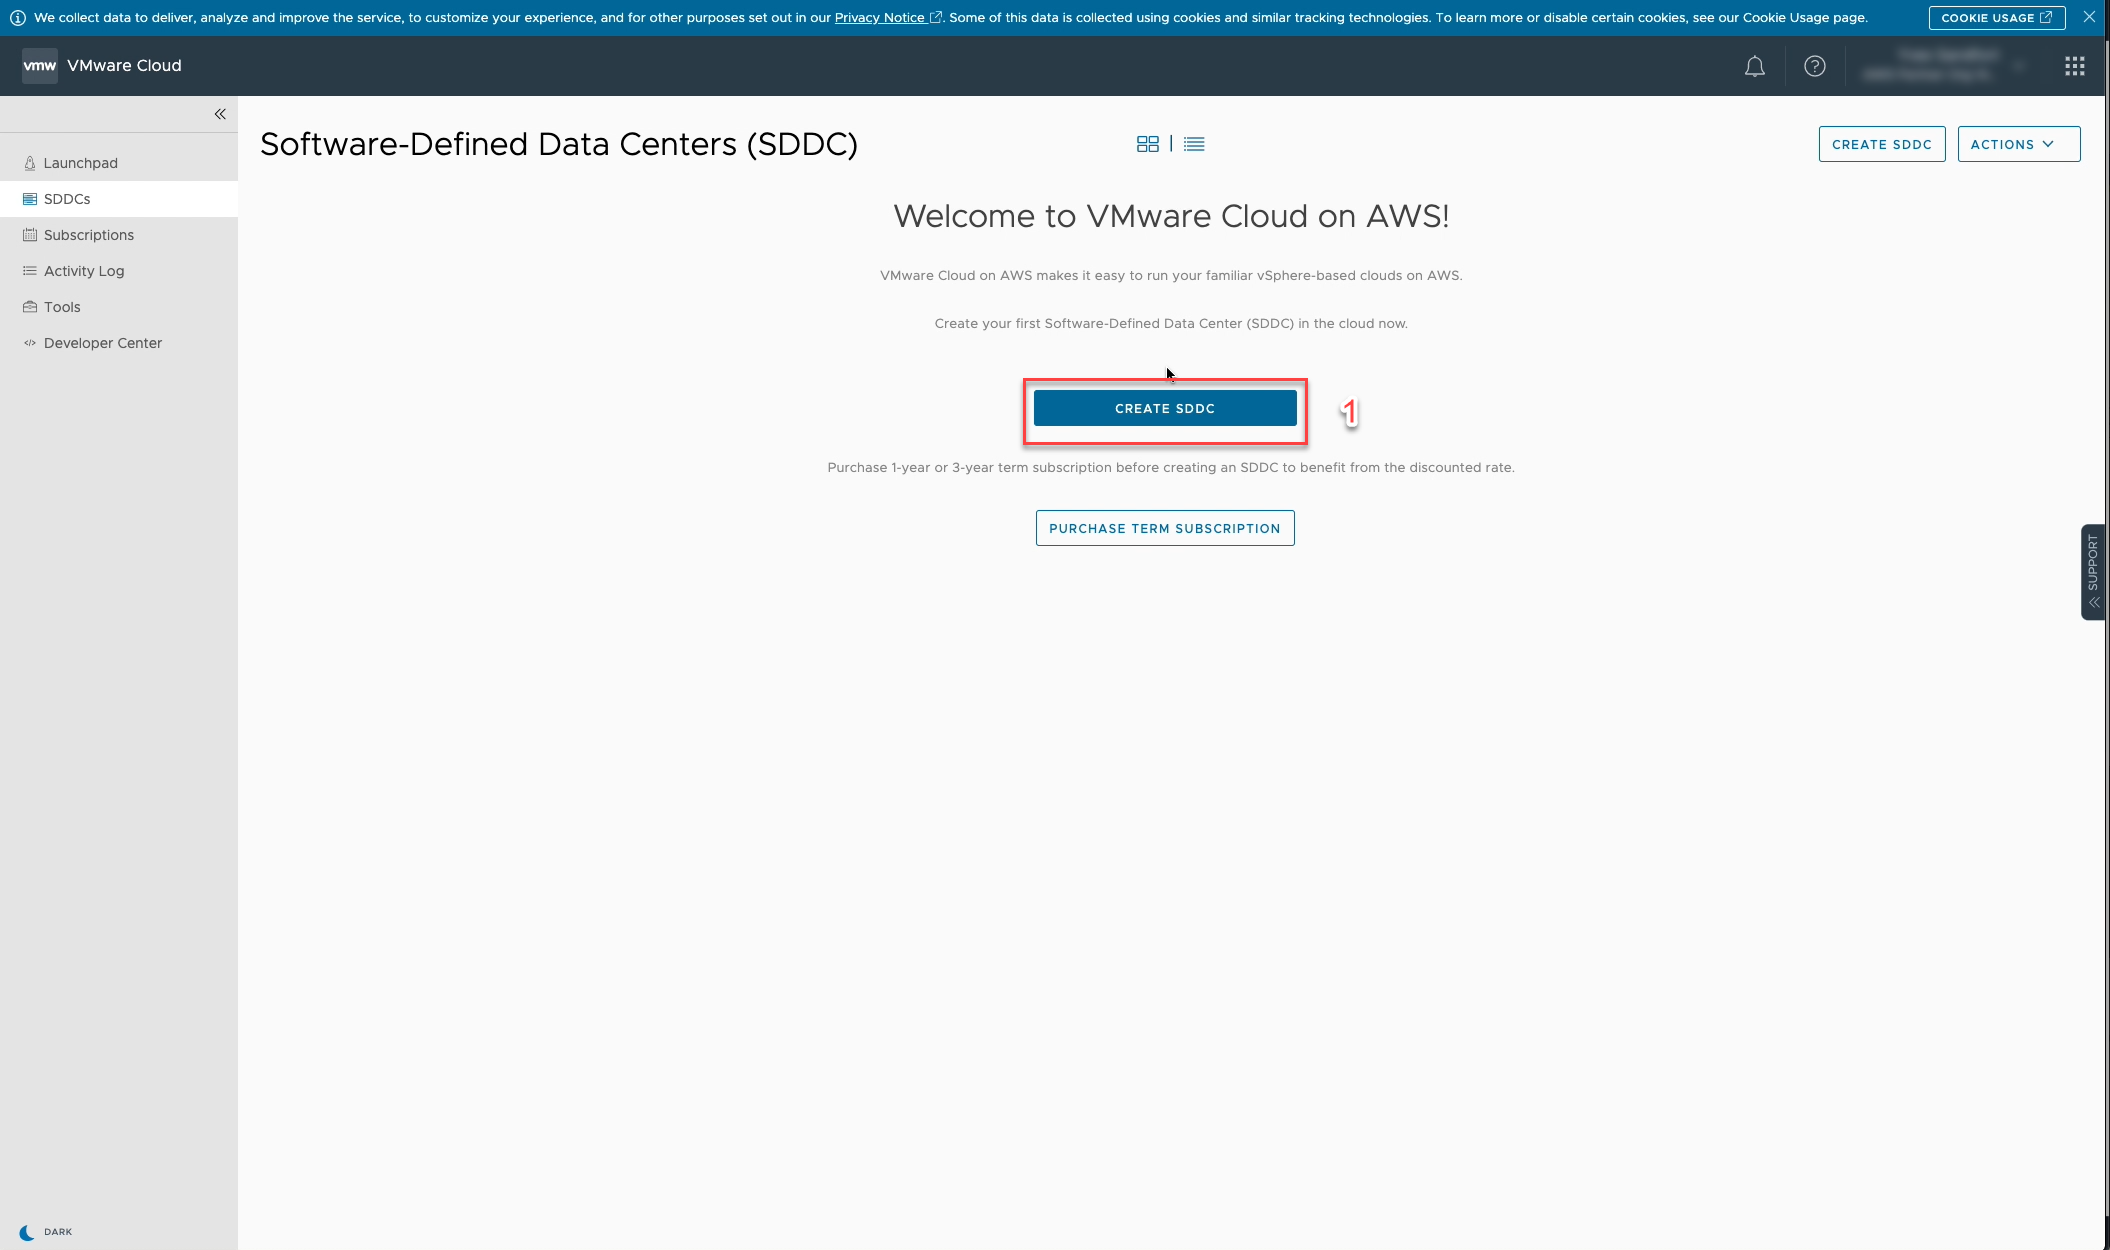
Select [CREATE SDDC] in the main page to kick off the SDDC creation wizard.
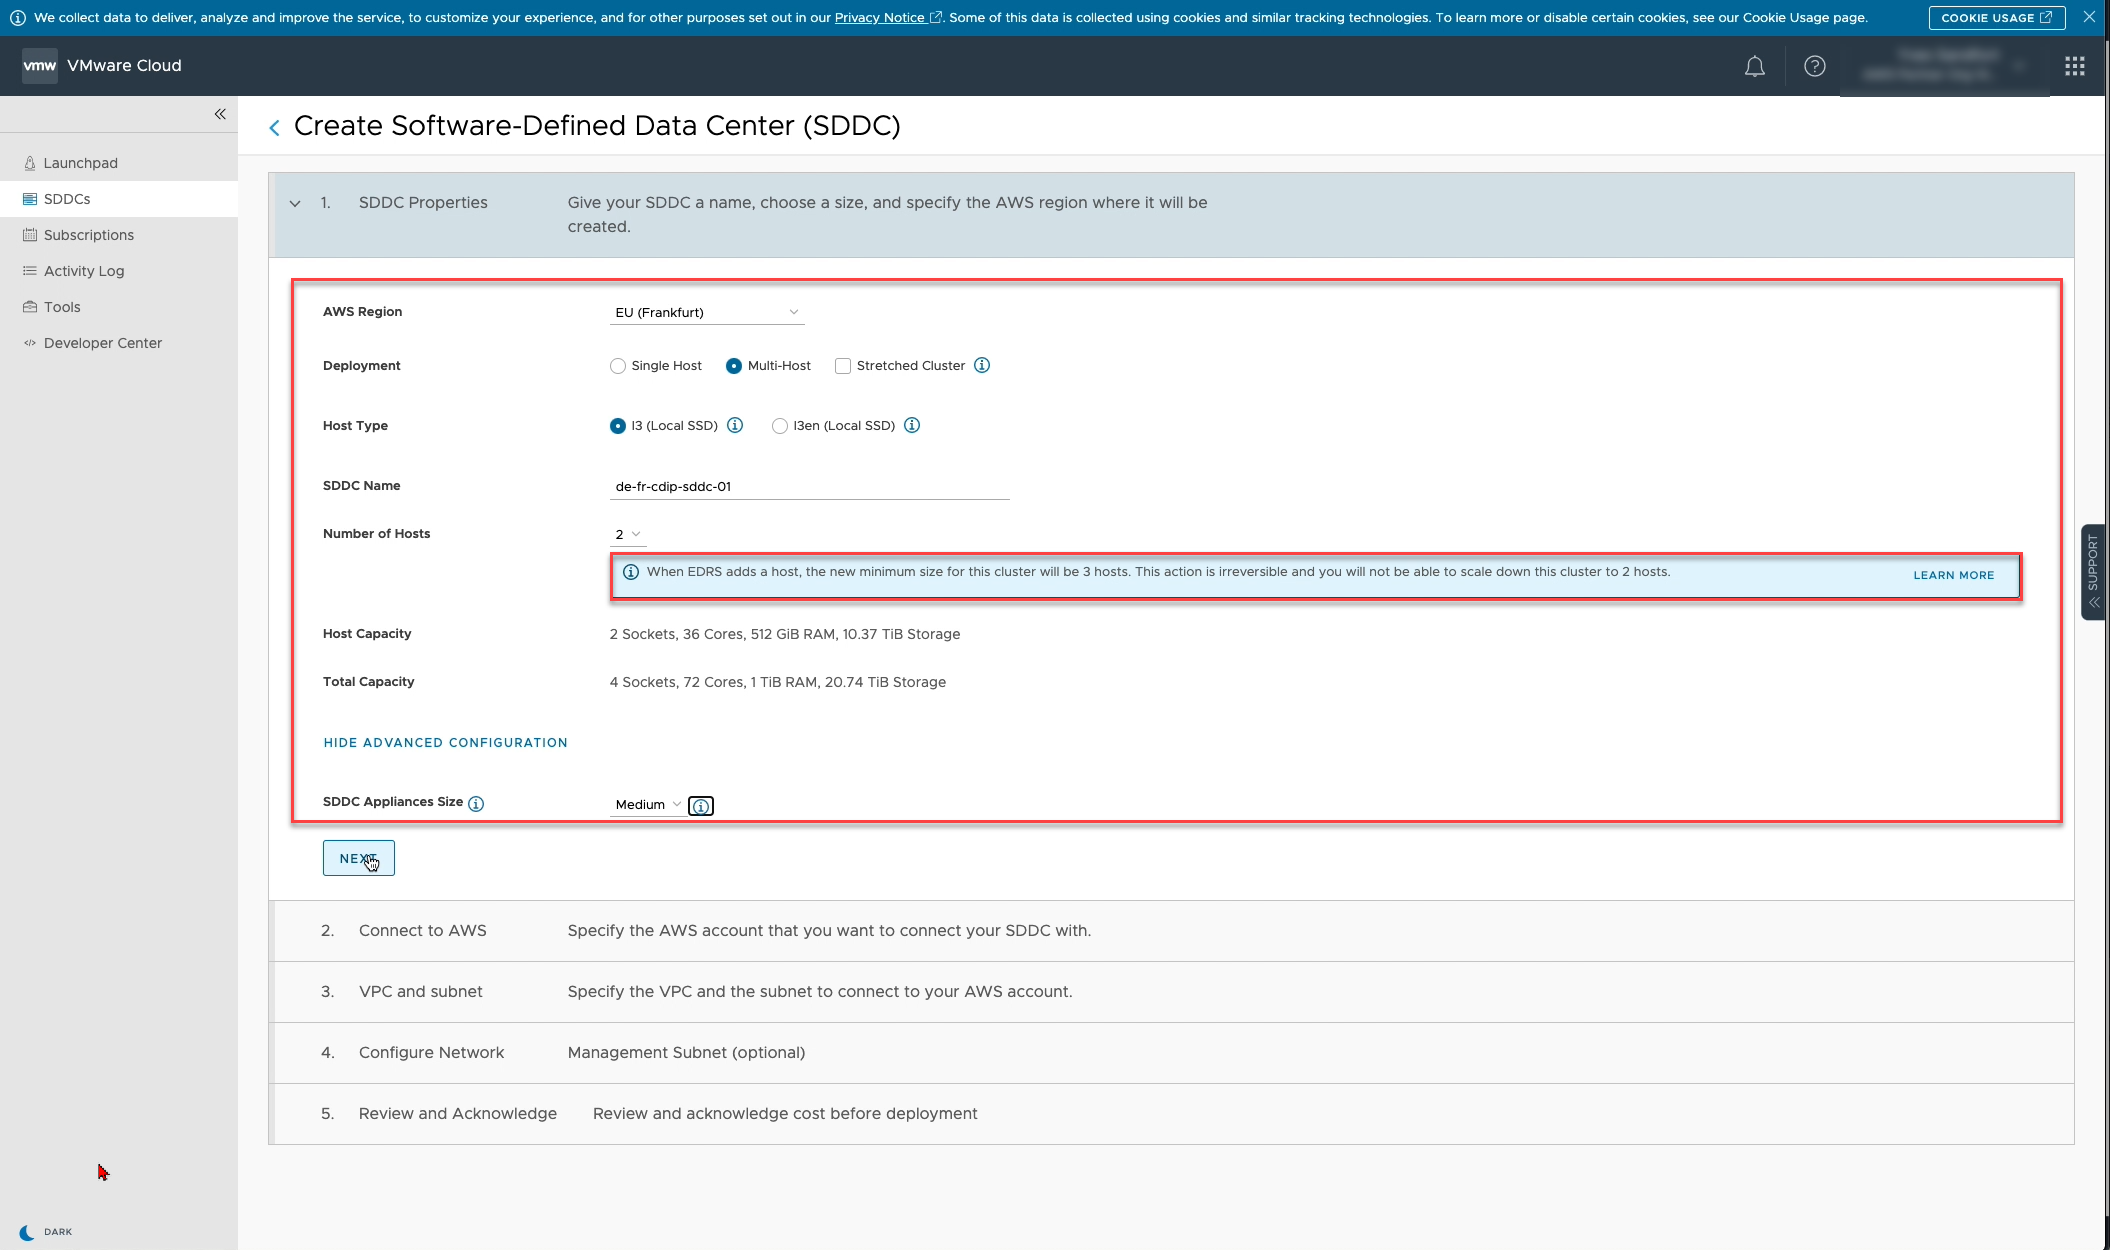
In the first step of the creation of the SDDC we can choose:
· Region where our SDDC should be located Frankfurt
· deployment type Multi host
· Host type i3
· SDDC name de-fr-cdip-sddc-01
· Number of hosts (cluster size) 2
· Management Appliance size medium
Select the (i) for more information about the selected items if you need further information.
In our case we are creating a 2node cluster, as stated in the small red box, if the EDRS add a node or you add a node manually and grow to a 3node cluster,
you cannot go back to a 2 node cluster anymore!

When you have entered all your parameters click on [NEXT] to continue.

Now it is time to tie together our SDDC to the AWS account.
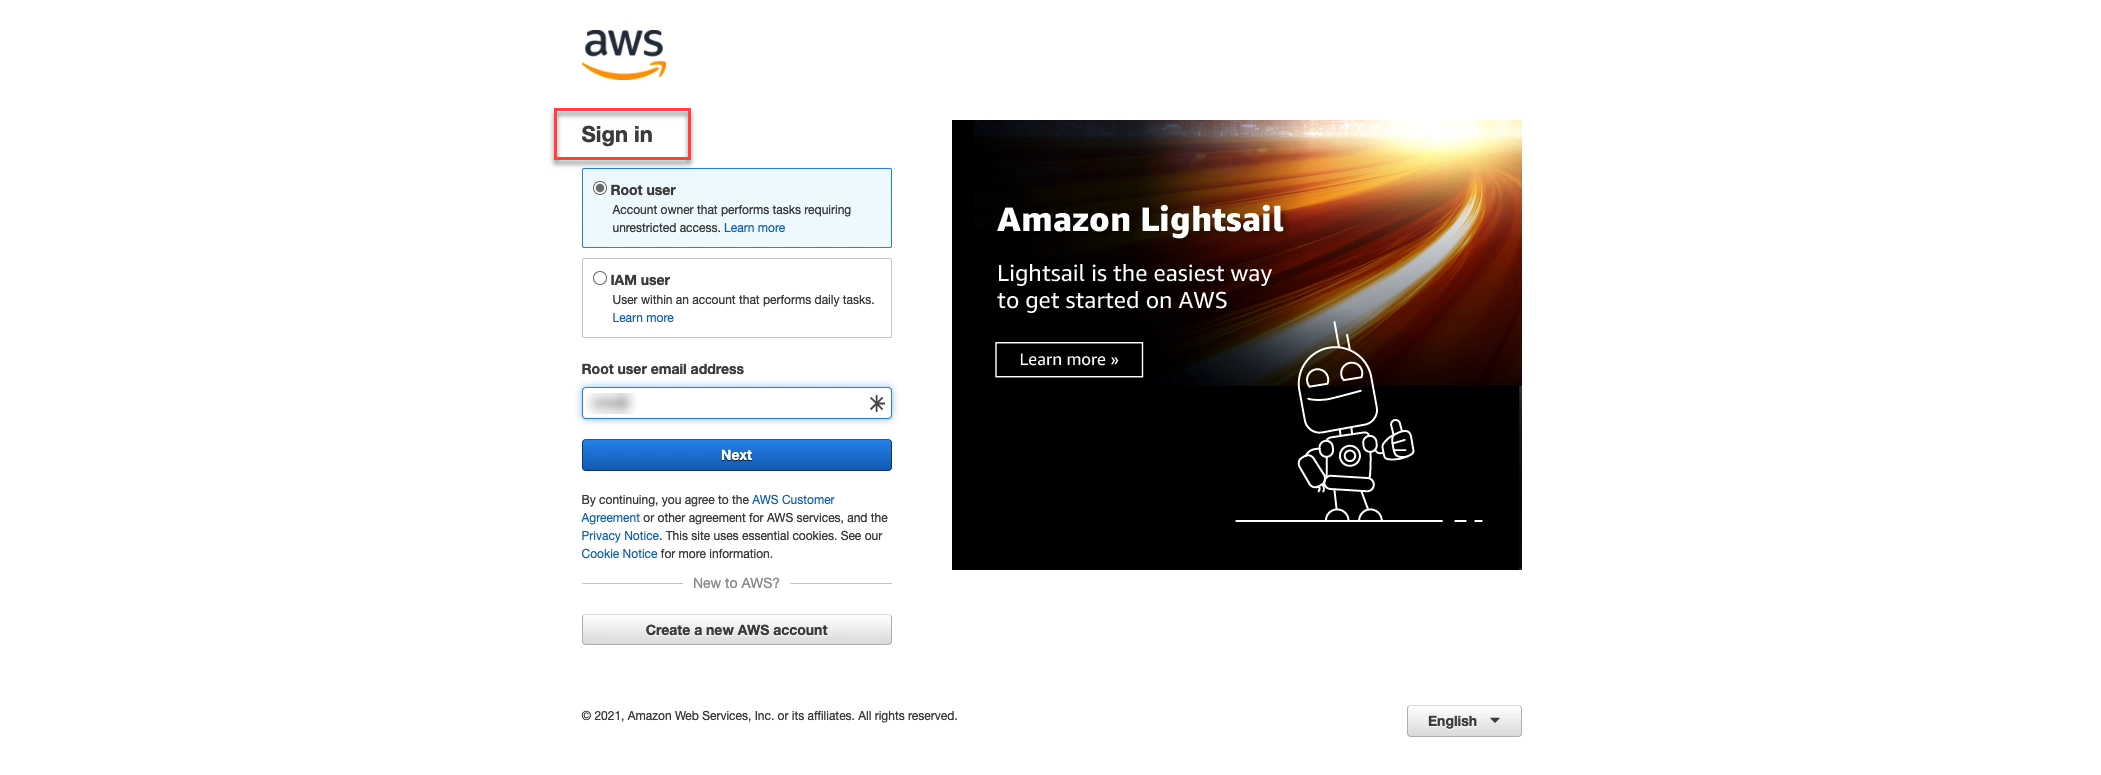
Sign in to your AWS root/IAM account by entering you access details.

Create your cloud formation stack creation and accept the changes to IAM resources by clicking on [Create stack].
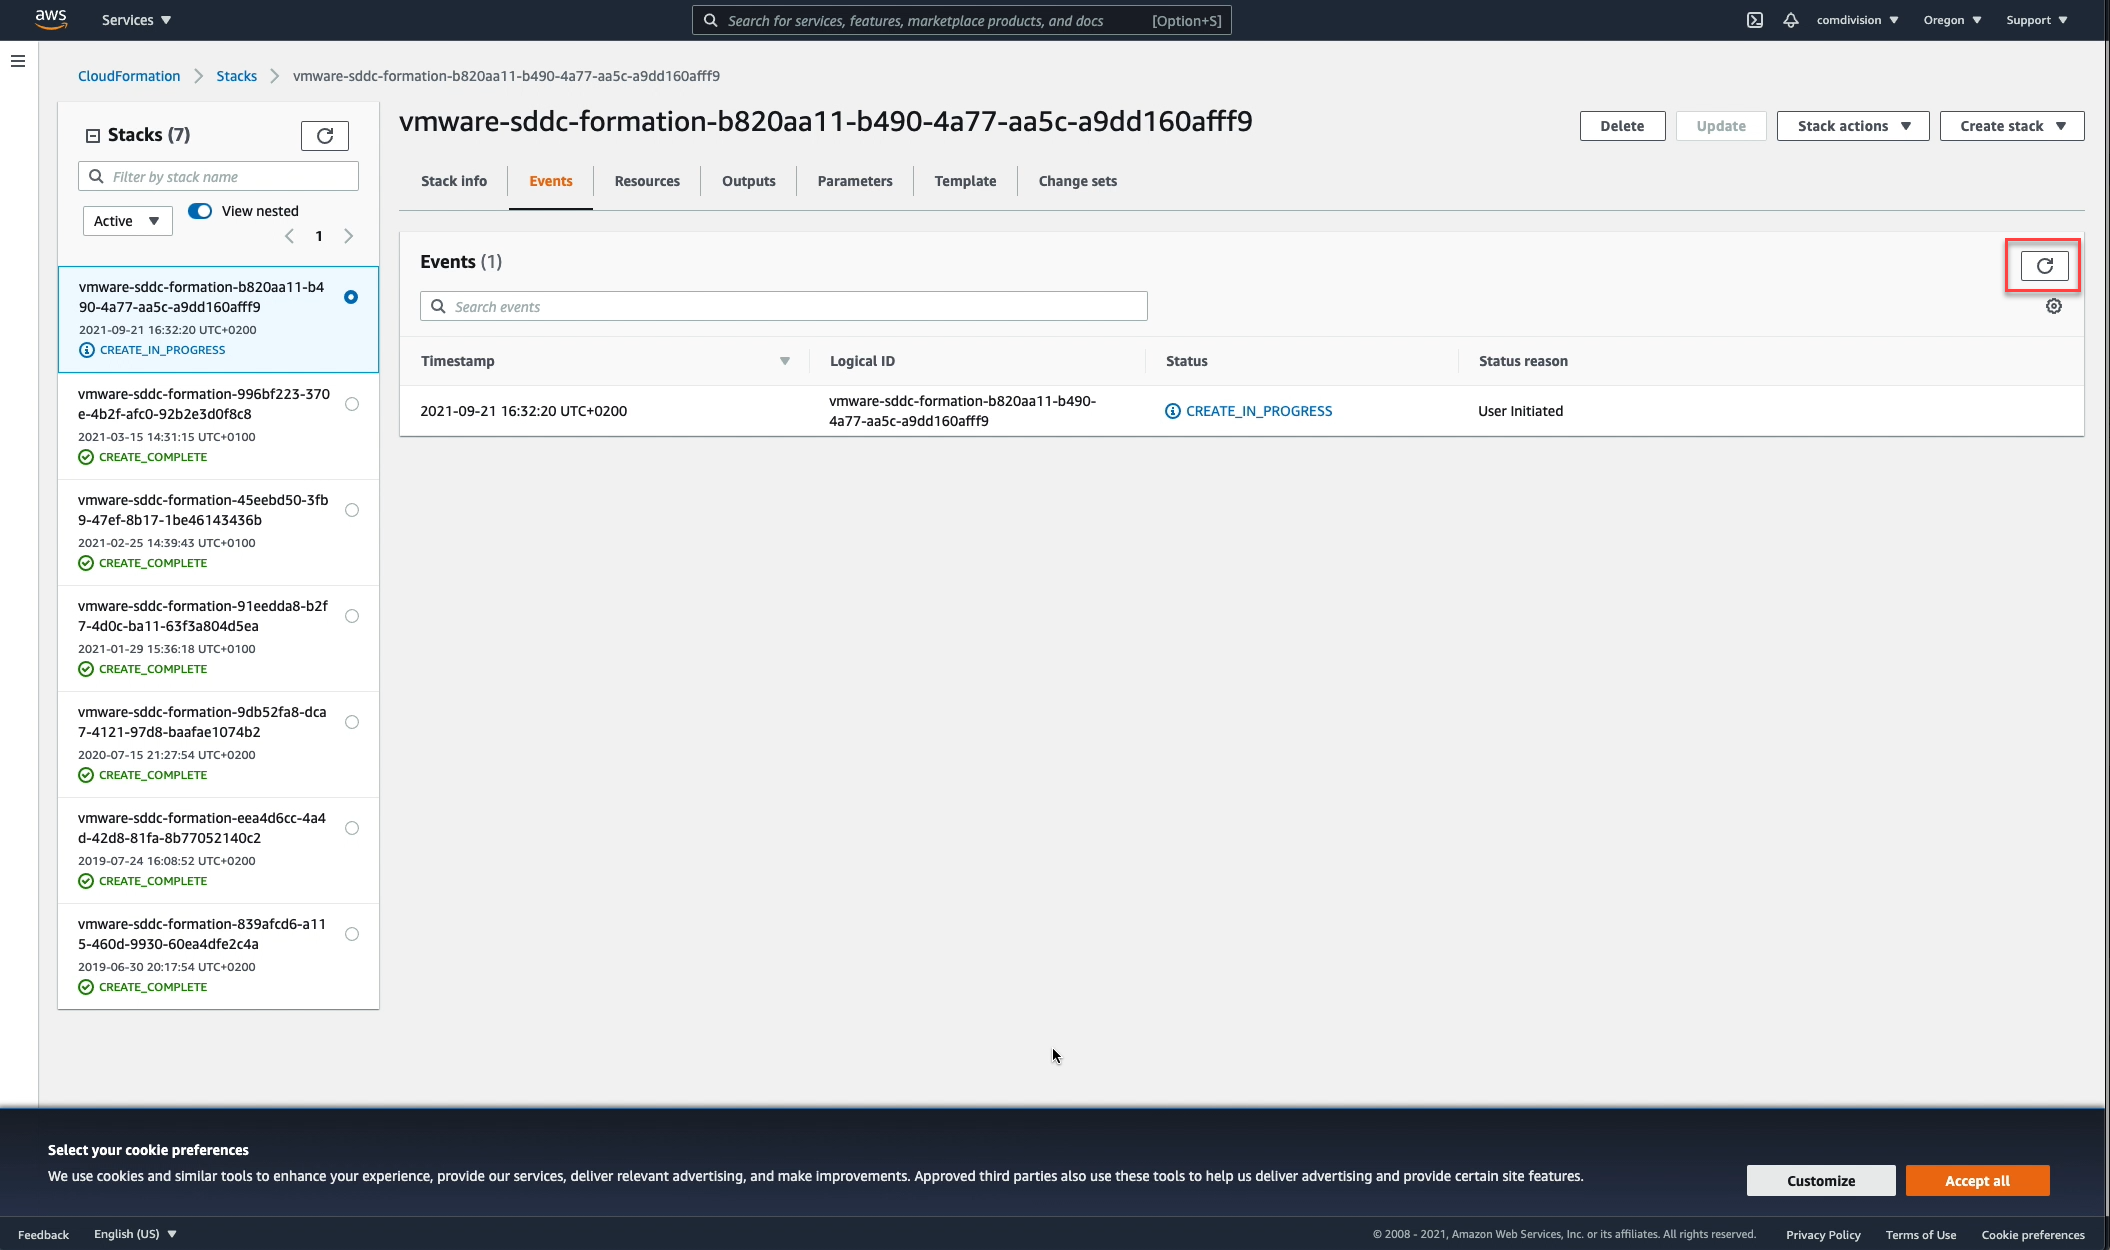
Stand by while refreshing the page, and enjoy the progress…..
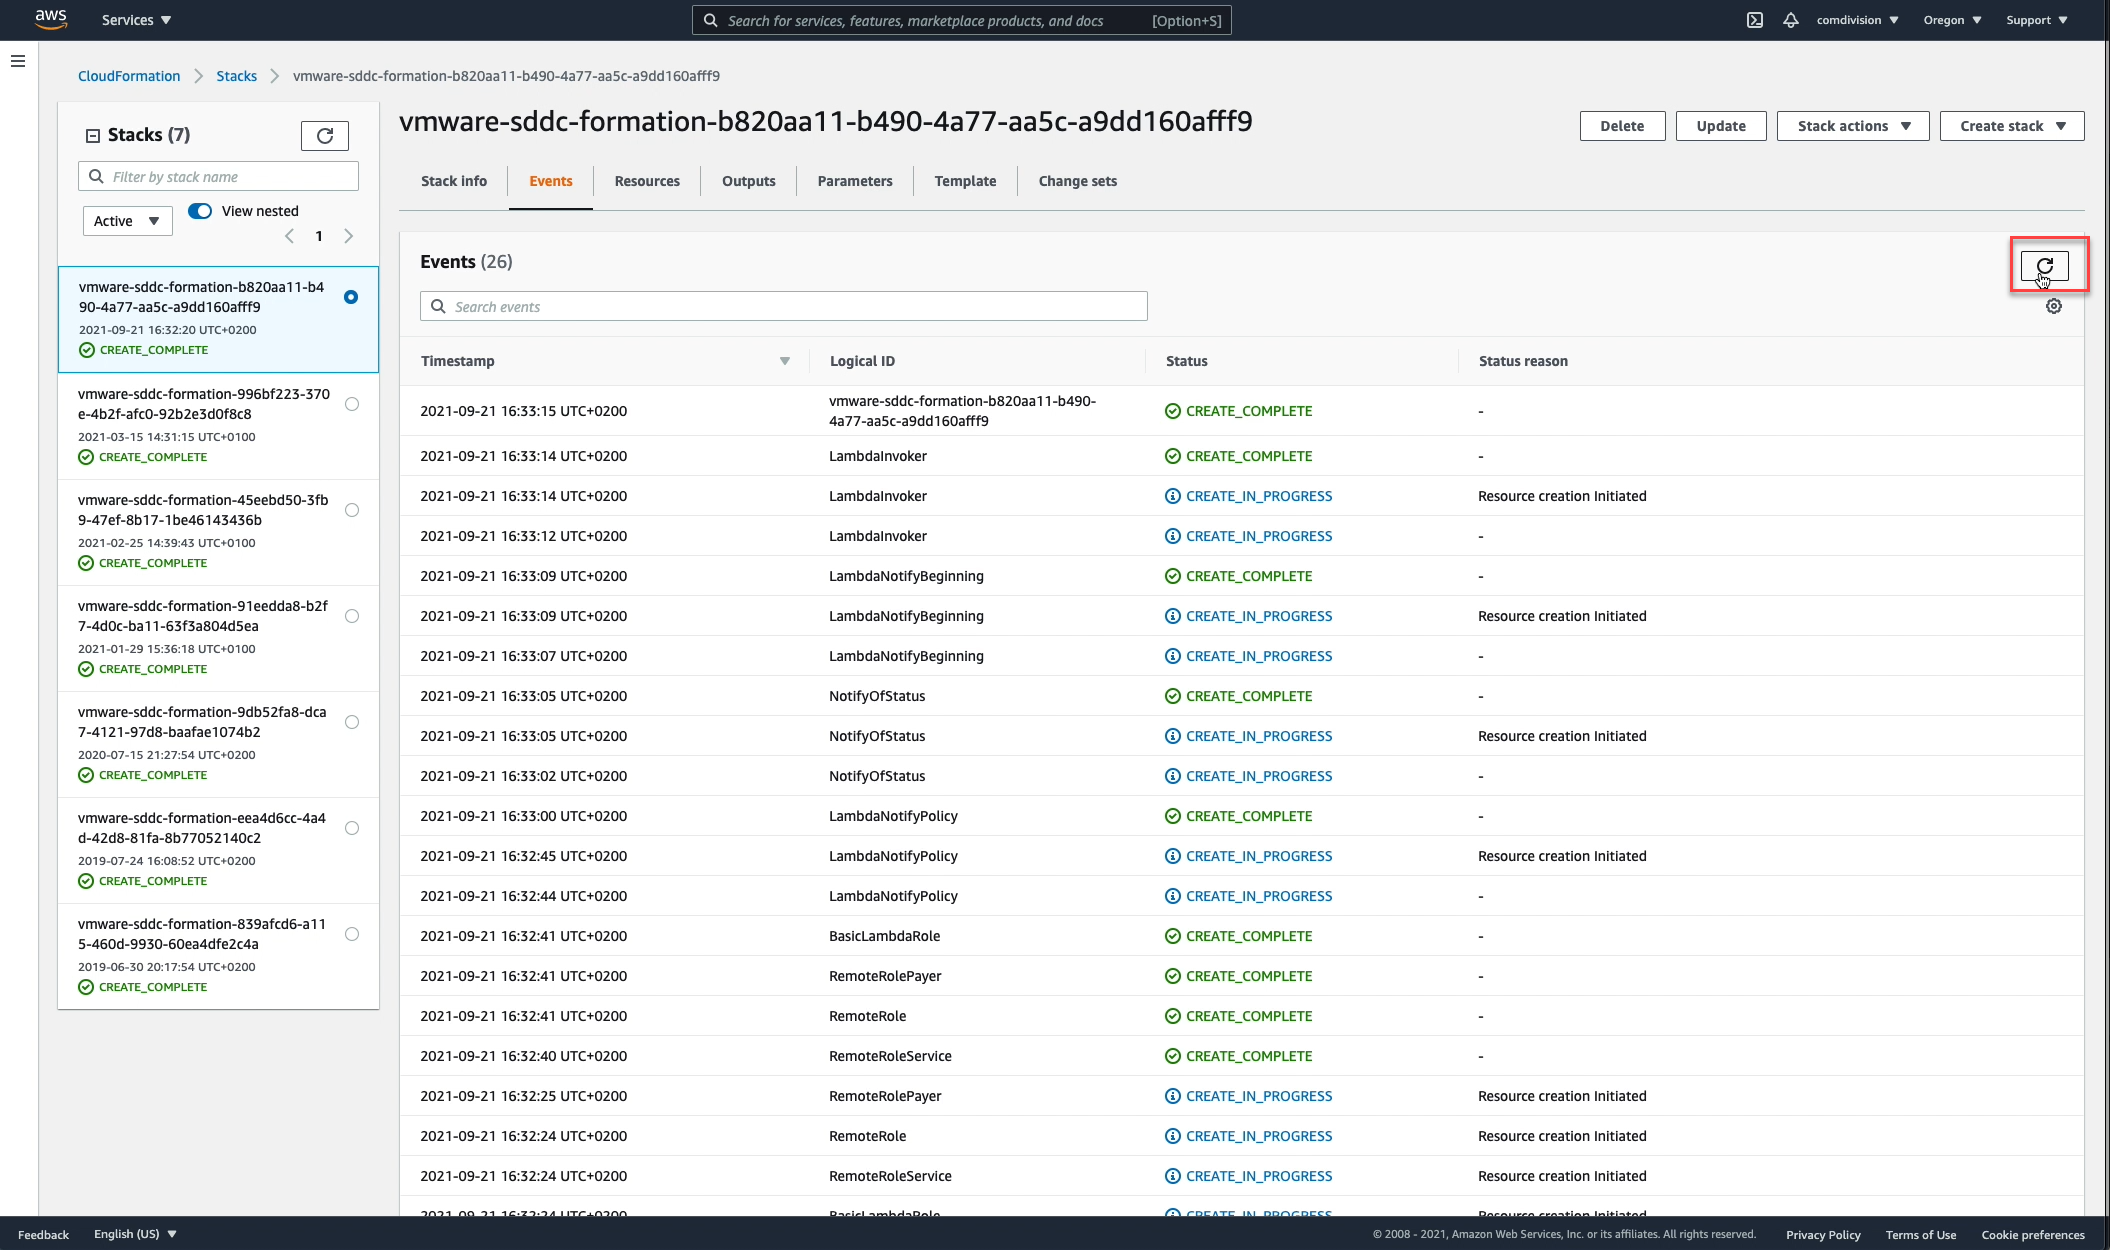
Still stand by while refreshing the page, and enjoy the progress…..once finished switch back to your VMware Cloud Console.
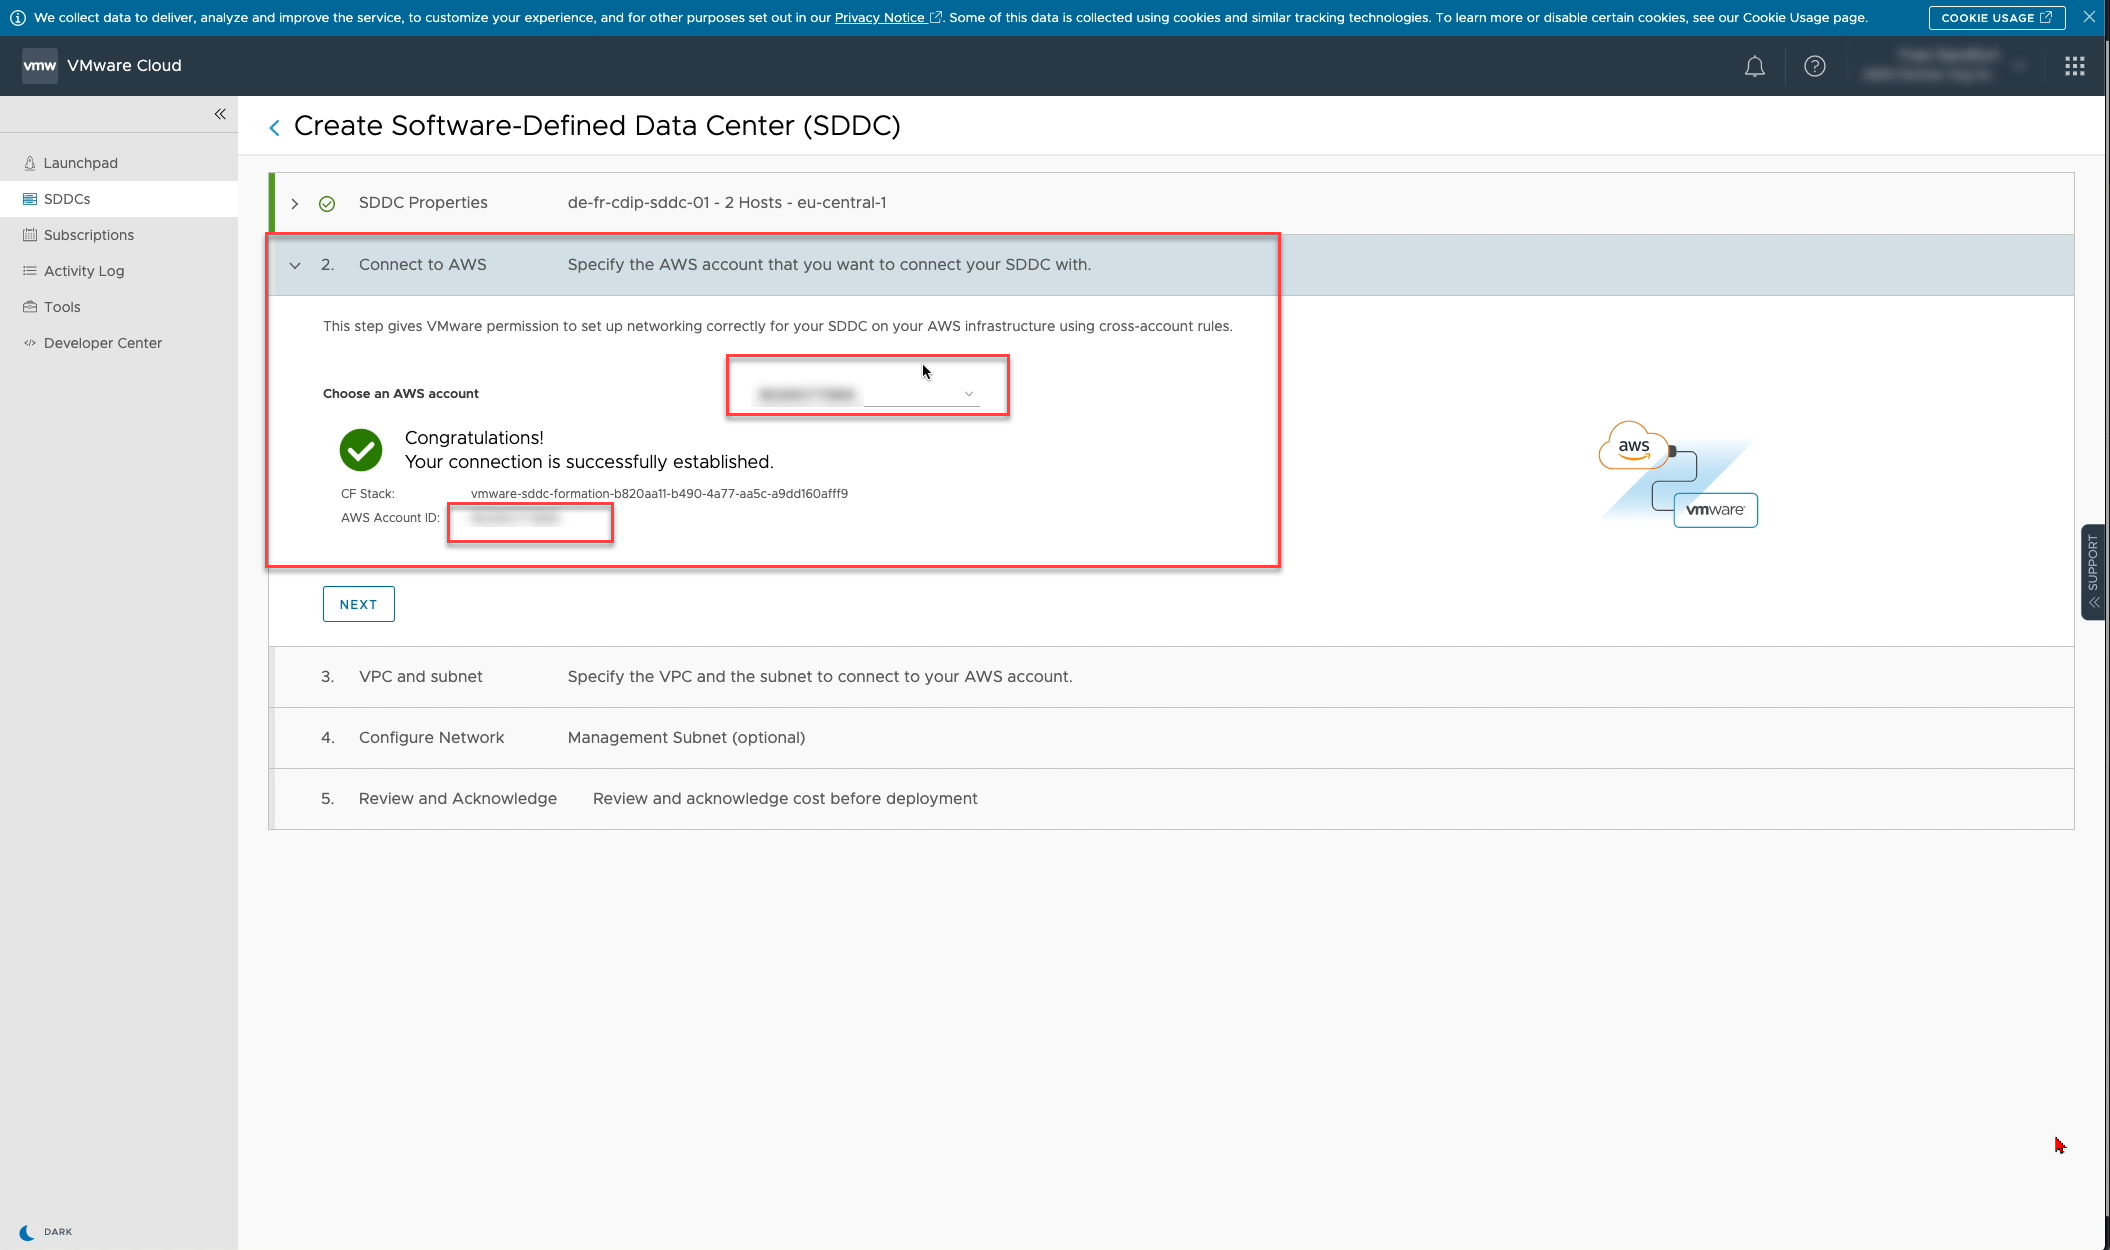
Back in your VMware Cloud console you see, that all the information is now there and proceed by clicking on [NEXT].
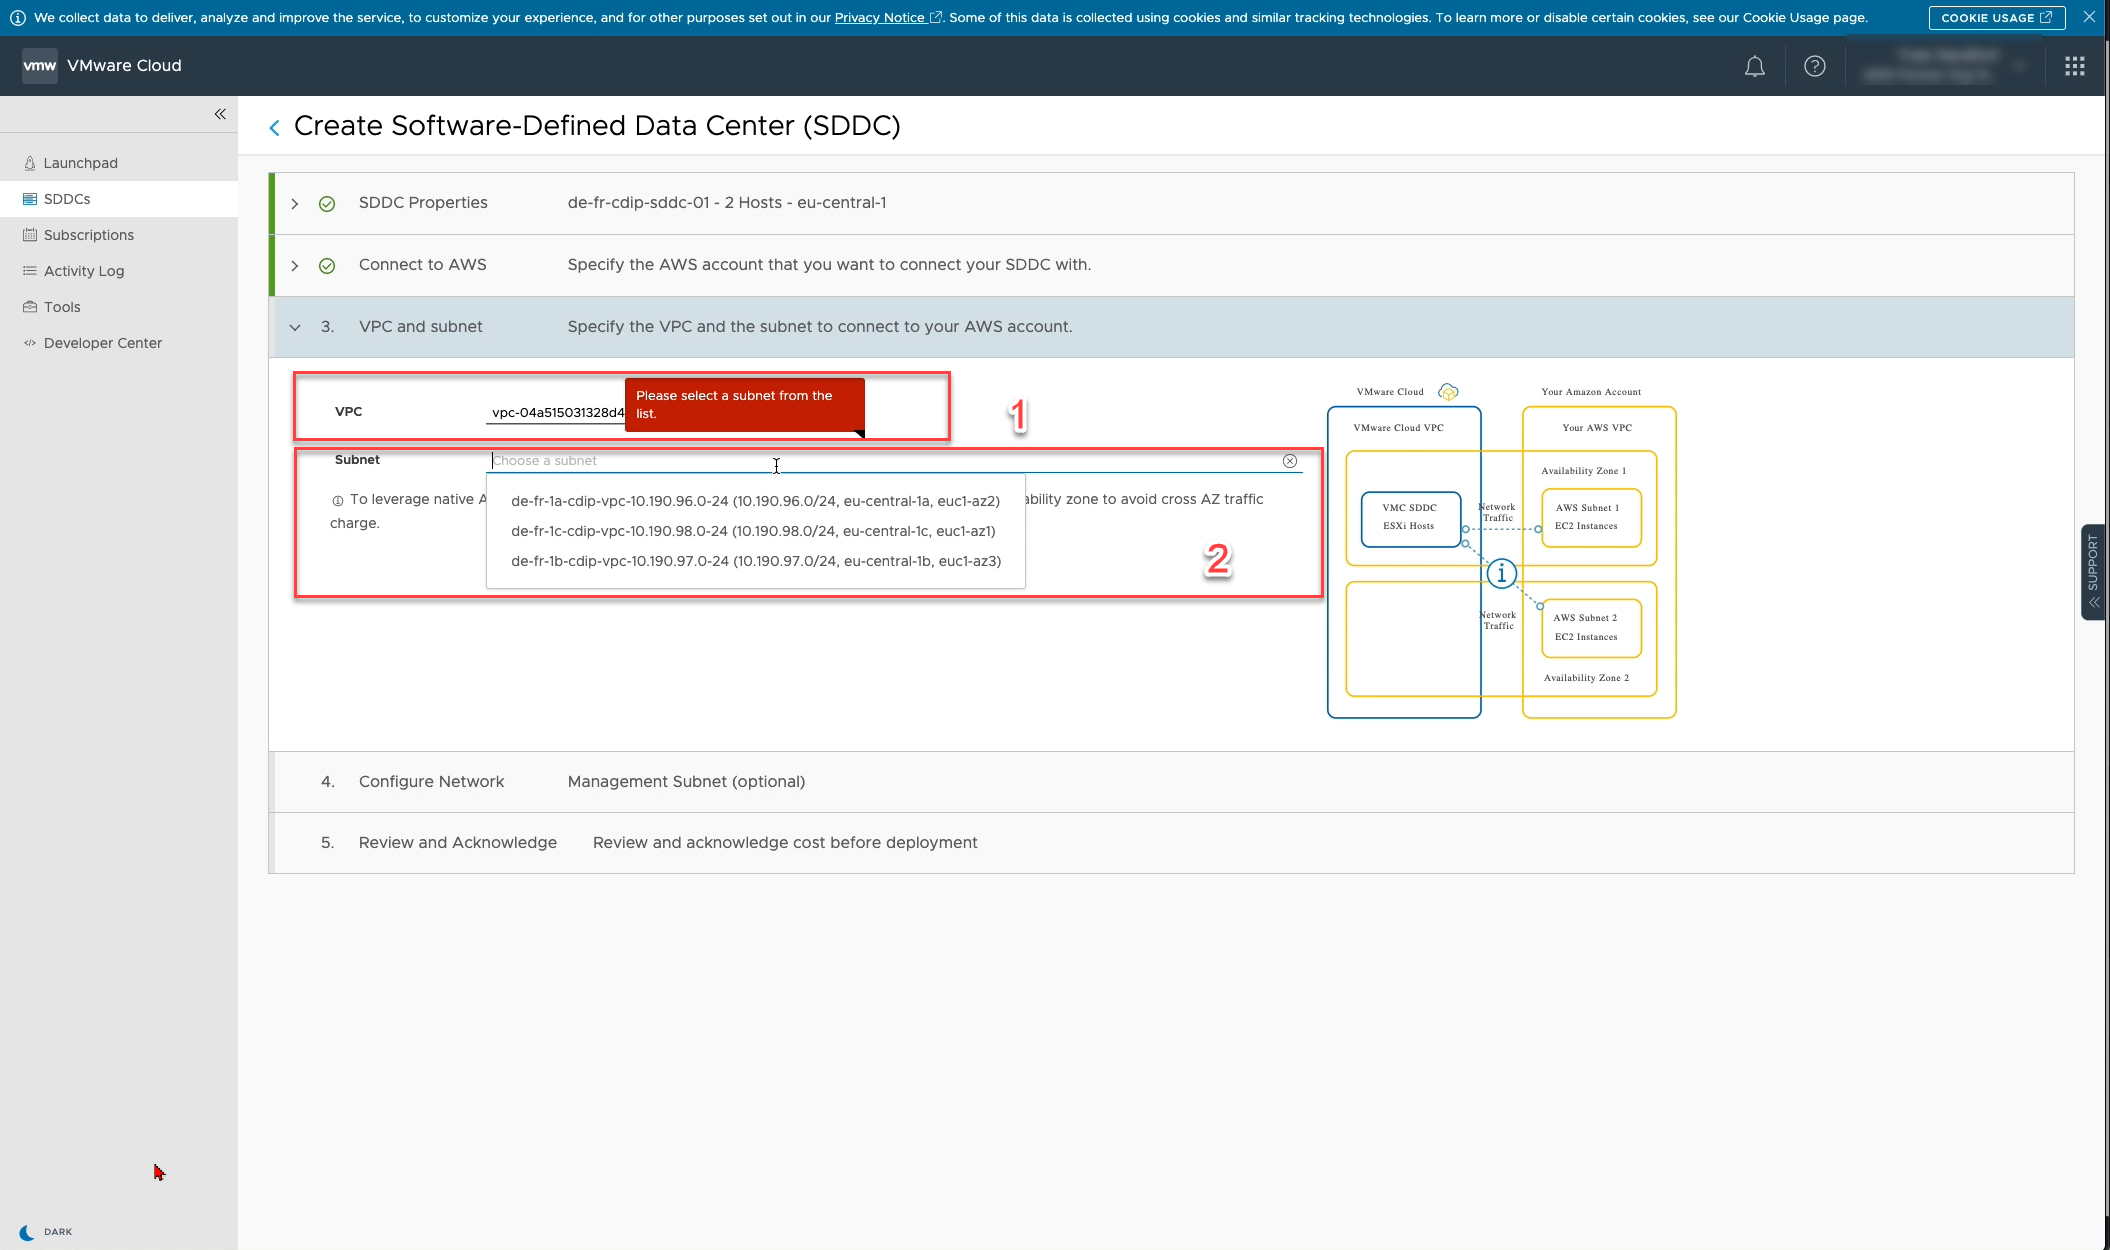
In this step we configure the VPC and the Subnet we configured in the AWS console as we started out.

In this dialog we configure the range for our management network, depending on the size of your SDDC.
Please take care of the prerequisites stated in this step.
· No overlapping IP ranges
· Appropriate network size and range
· Do not use reserved IP´s

Finally accept incurring charges start after pressing [Deploy SDDC].
Our SDDC will now be rolled out an this will take some time…

…where you can enjoy coffee…
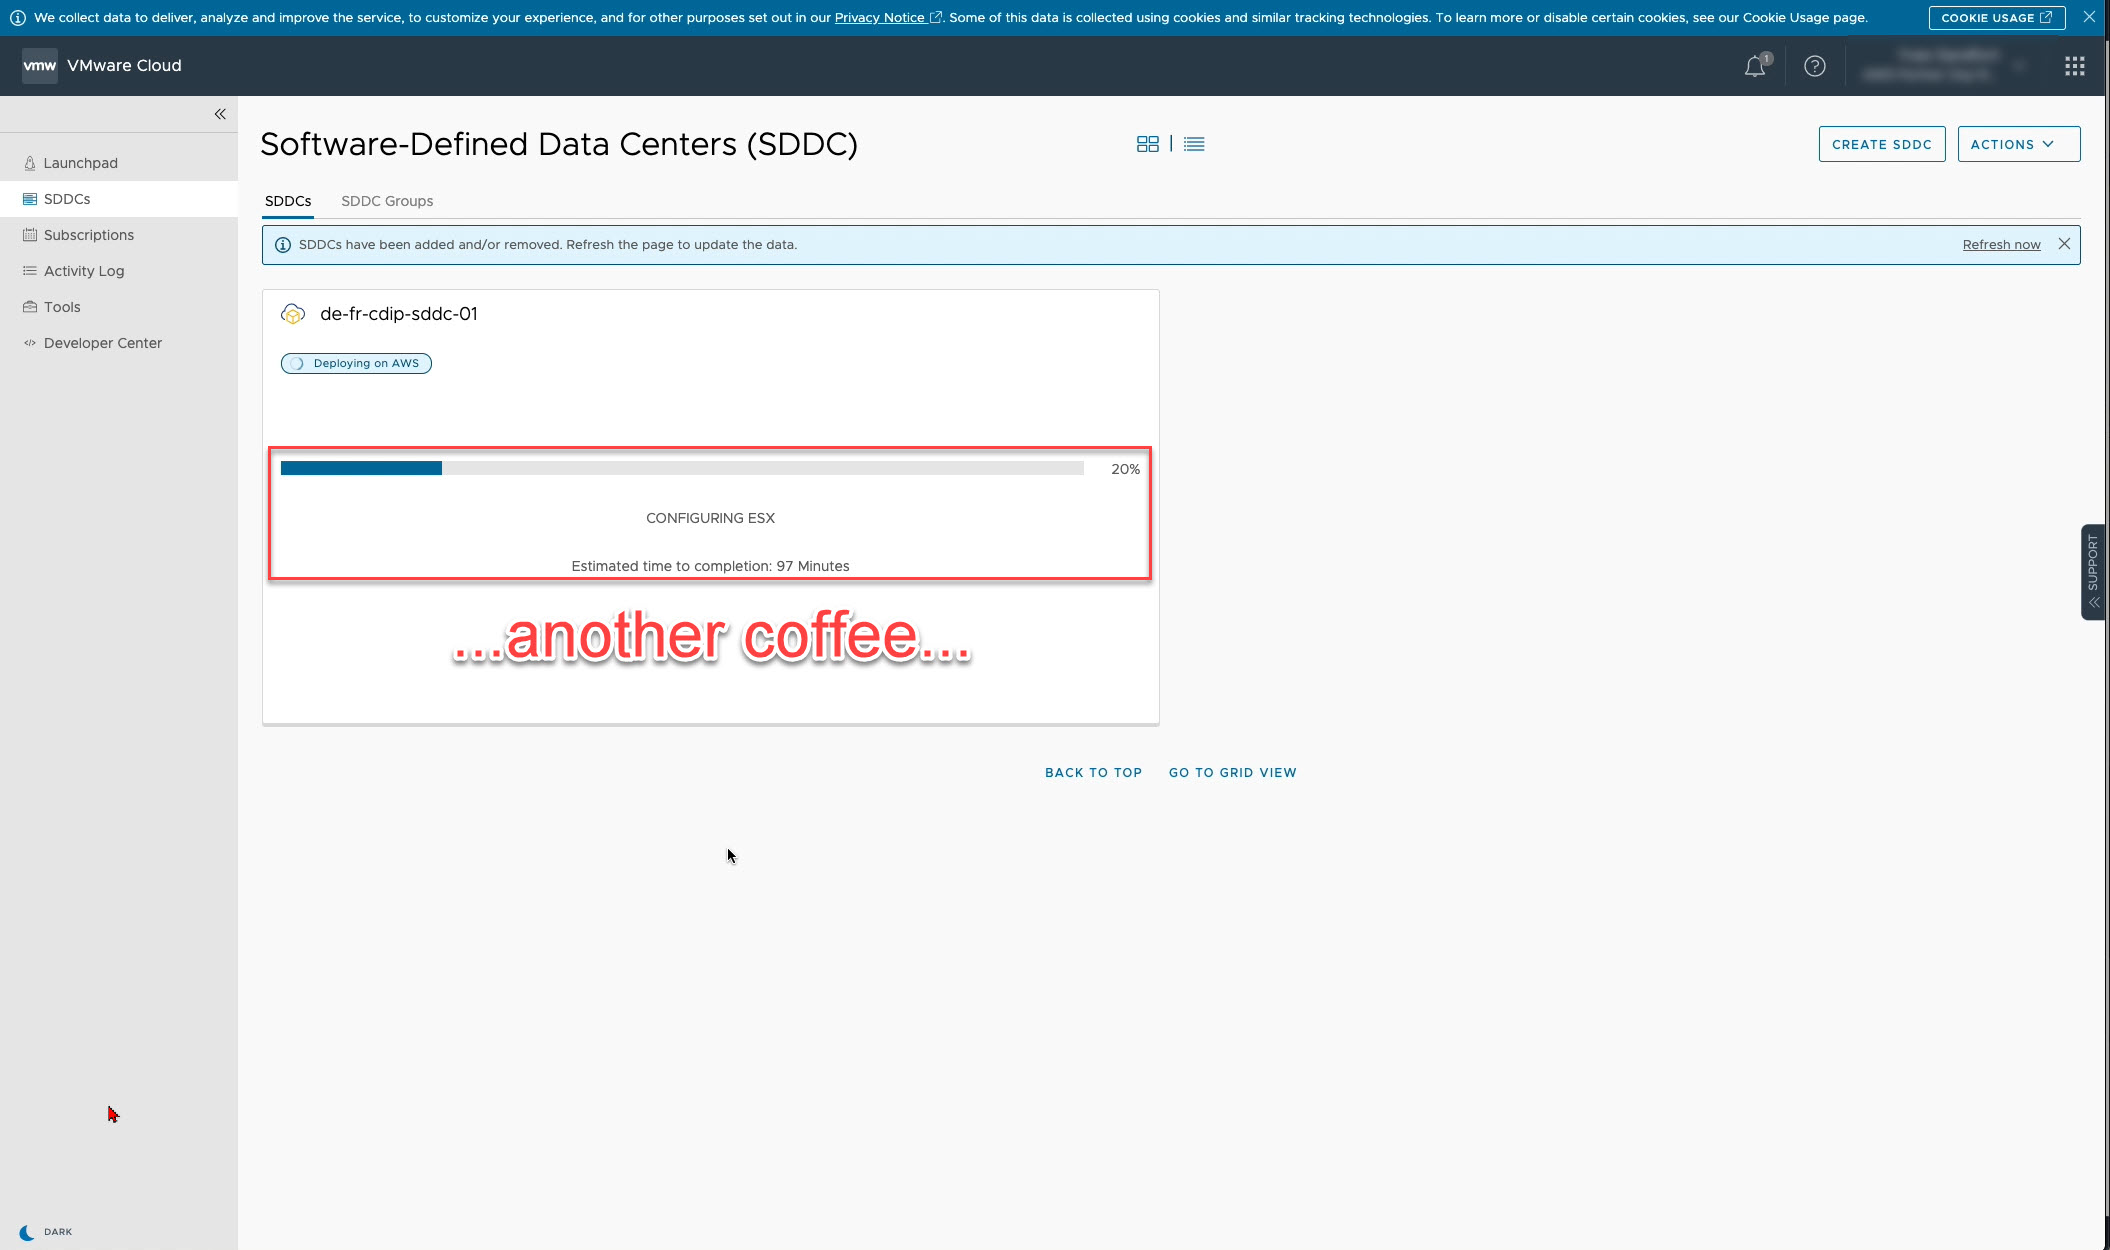
…additional coffee.
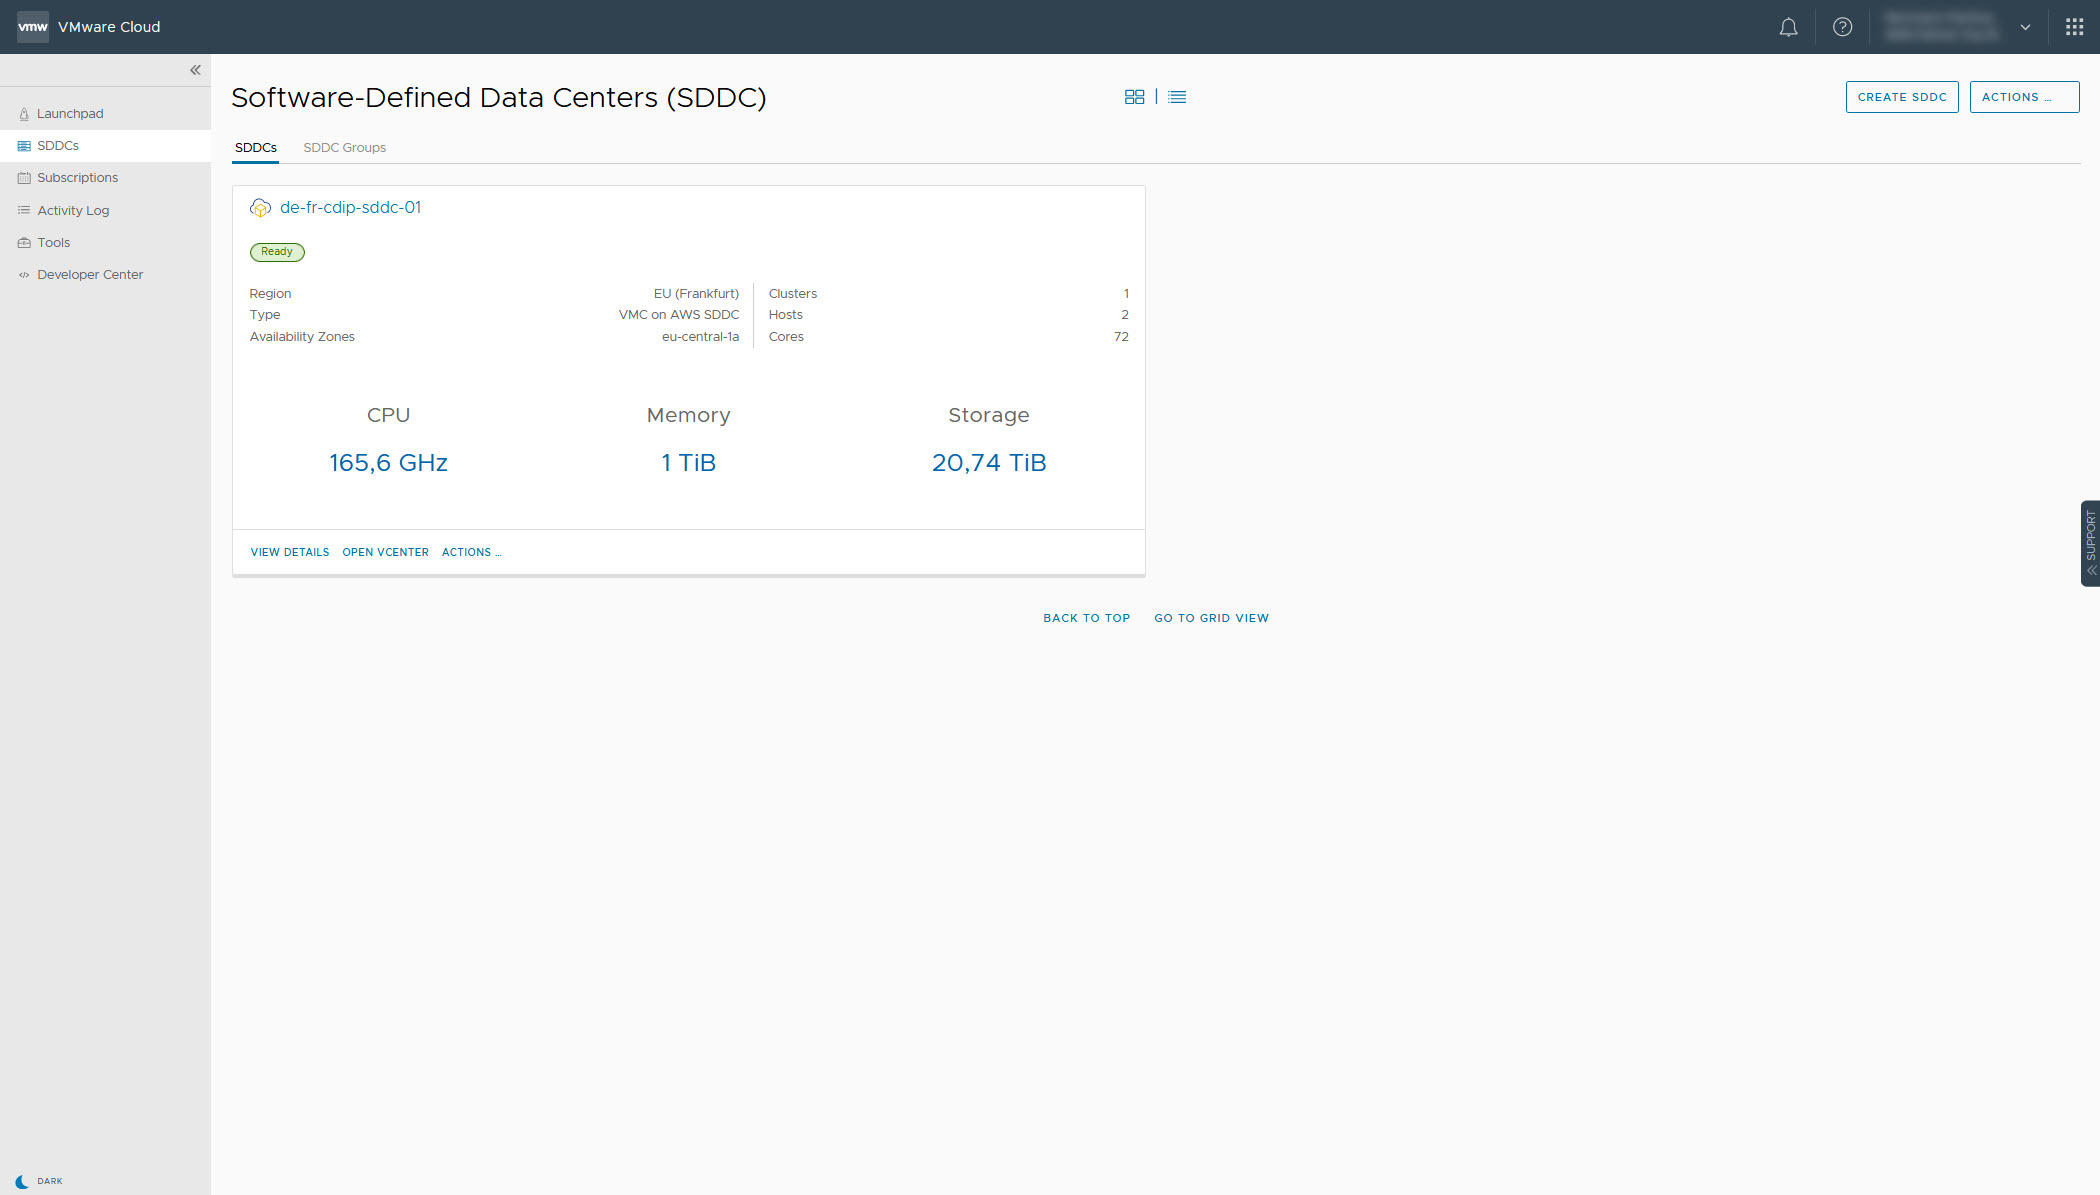
After approximately 2 hours your SDDC is ready for consumption.
Further information on how to and configure the firewall to access your vCenter instance, uploading ISOs will come soon.
